img {display: block}
I have moved the music server to a cloud based technology, specifically a 4TB Western Digital’s My Cloud. This is Java based so there’s a little more to getting access. You will still have to email me to get the login information, and there will be additional information set as well. Also, while I have enable FTP I have not played around with it so specific FTP log on information will be coming later. For now please see the instructions below.
If you already have everything you need just click here and remember the email address is ‘wabaguest@zilligen.com’
Step 1: Java Install Verification
The first step is to make sure your Java is up to date. Follow this link to verify your version of Java:
http://java.com/en/download/installed.jsp
If you have a unhappy gif as listed below:
 Just click on the ‘Activate Java(TM) Platform SE 7 U’ link and this window will pop up:
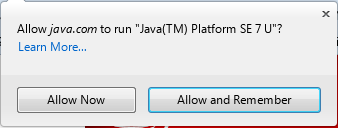
Select the ‘Allow and Remember’ button and you should now see the red ‘Verify Java Version’ button. If you everything is fine you’ll find this window: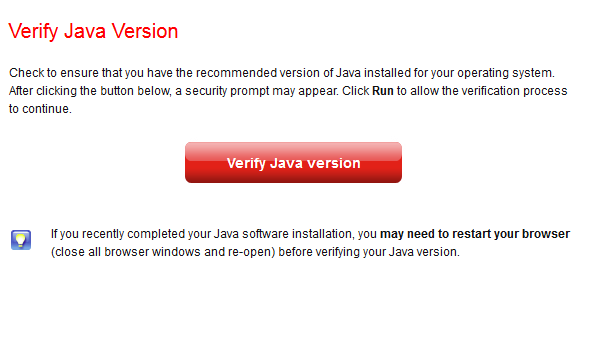
Click on the red button and if all is good you will receive this happy message:

If Java Verification Fails
If you don’t the ‘happy message, you may have gotten this this message:
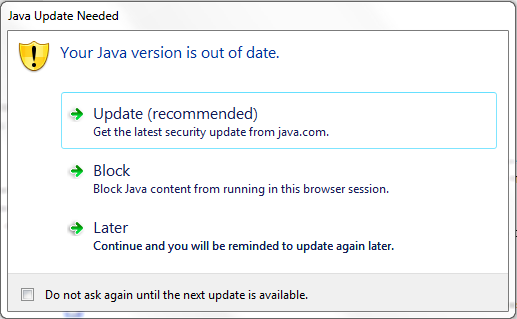
At this point you will be asked to download the latest version. You should be redirected to the following page, if not, follow this link.
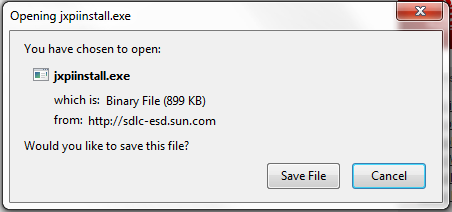
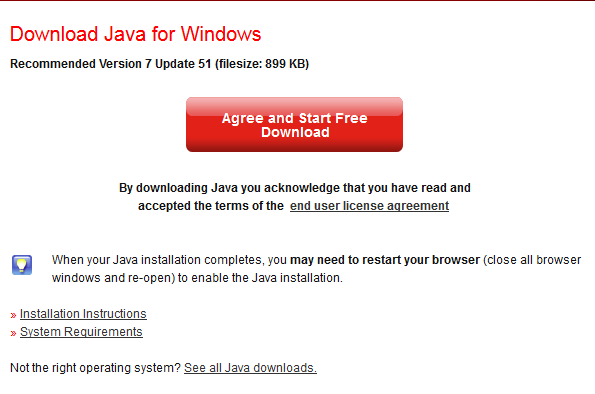 Click on the red button and save the jxpiinstall.exe:
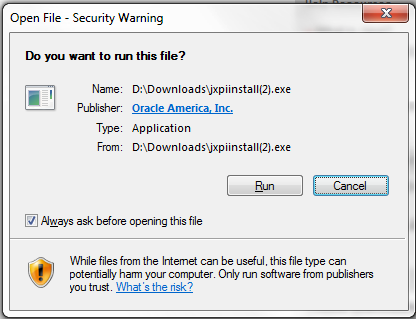
Doubleclick on the file and you’ll get this window (why, I don’t know):
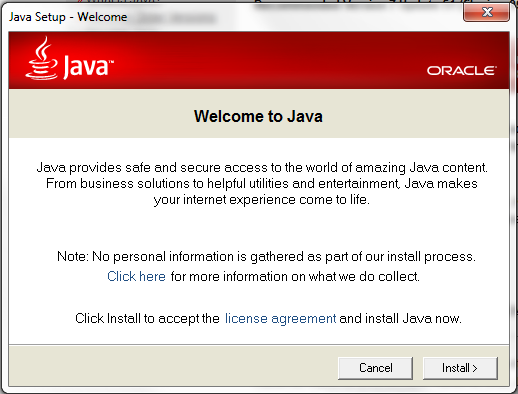
Give it a bit you the Java ‘Welcome’ window will appear:
Click on the ‘Install’ button then this window will be appear. I hate this – Java, a critical tool for your PC and they (Oracle) are adding adware. UNCHECK the box and do not install McAfree:
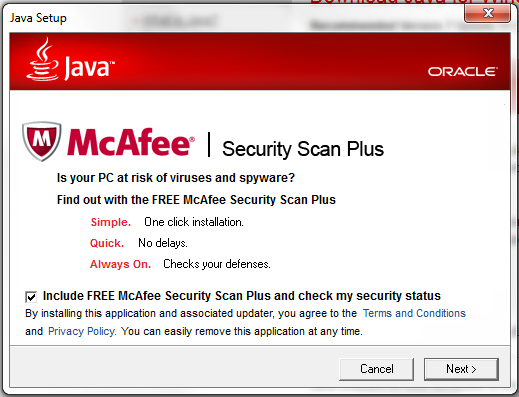
This is assuming you already have virus protection. You do not want two anti-virus programs on your computer. Next there is a good chance you will also get this warning:

Go ahead click the continue button. Give it a bit but eventually you should get a green process bar:
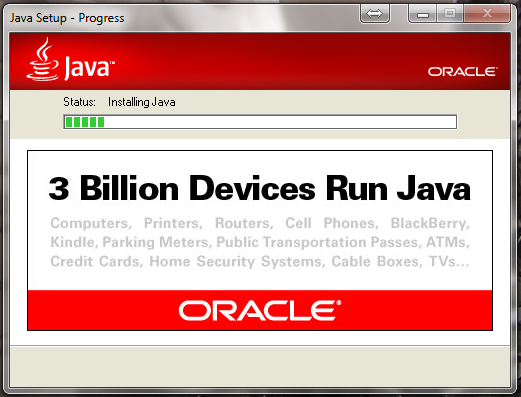
Finally you should get the Java ‘Happy Window’:
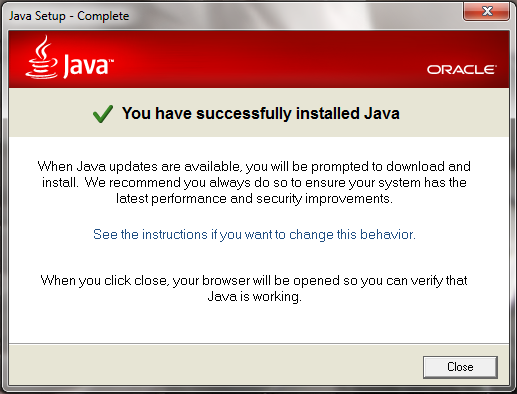
Ha, just when you thought you were done, your browser will open to the Java verification page and this window will pop up: 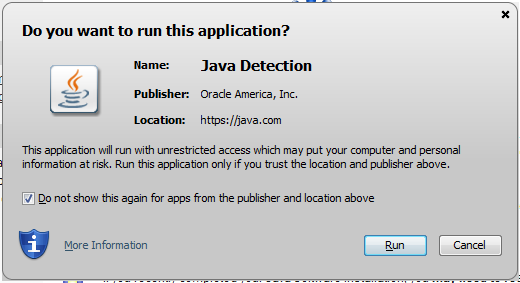
I usually check this box so it automatically runs. Java has had problems with their vm (virtual machines) getting hacked so it phones back to the mothership to make sure it a legitimate version of Java. If you don’t get his you that indicated there is a problem. Assuming everything is good, you should get original happy message:
Step 2: Java Prep for Music Cloud Server
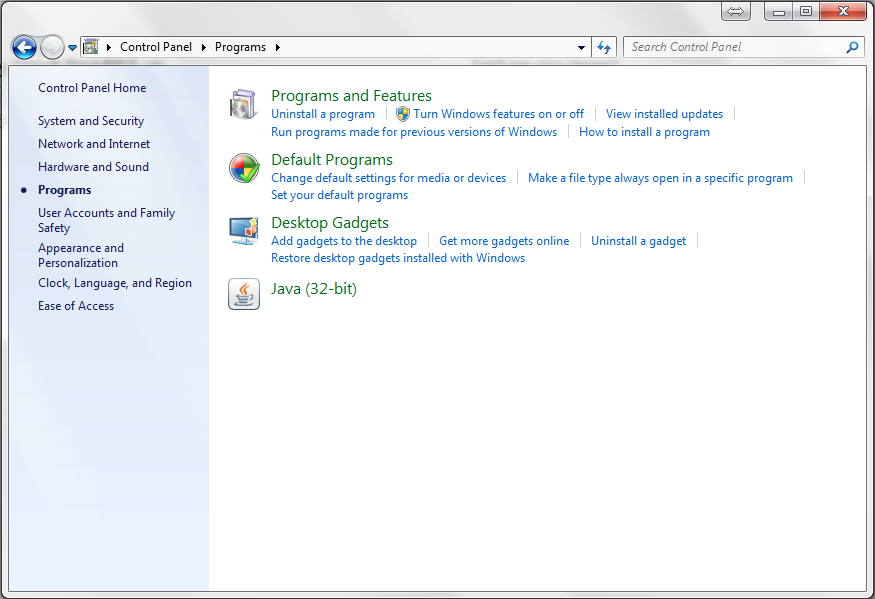
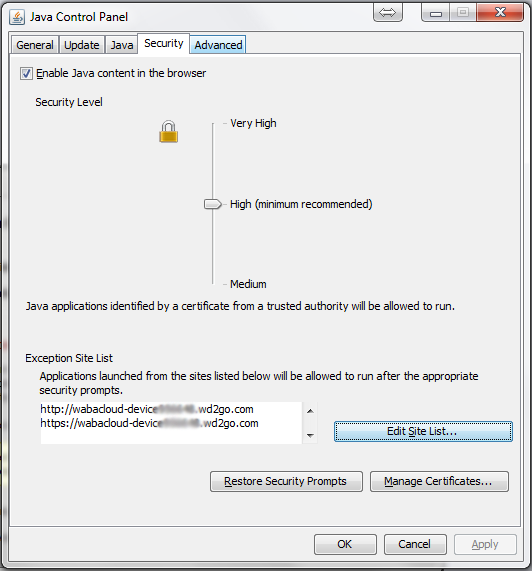
Now we have to ‘add a little something’ to Java to get it to work with the cloud server. So you’ll have to go to the Java Control Panel. Didn’t think here was a Control Panel for Java, eh? It with your regular Control Panel. If you have Windows 7 it look like this: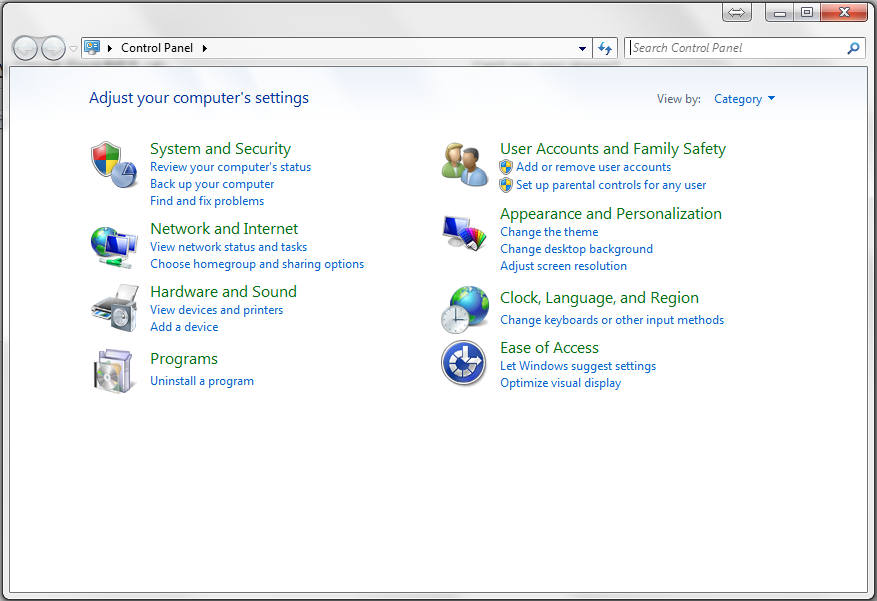
And click on ‘Programs’ to get here:
Ah, there’s the Java Control Panel. Double click on it:
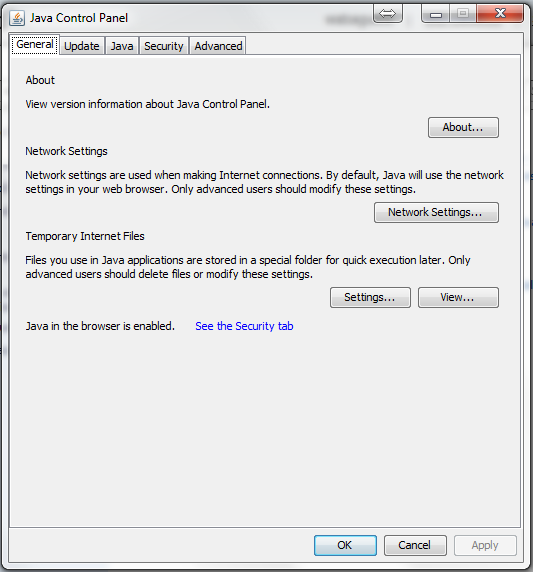
Click on the ‘Security’ tab:
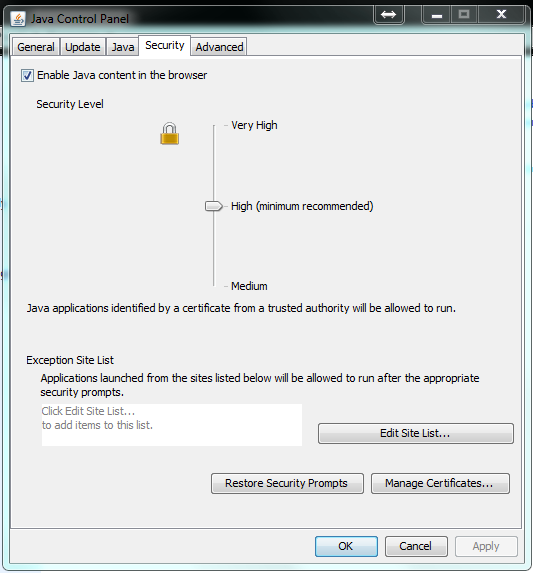
Here we need to add the cloud server site so you can get access. Click on the “Edit Site List…” button and this window popup:
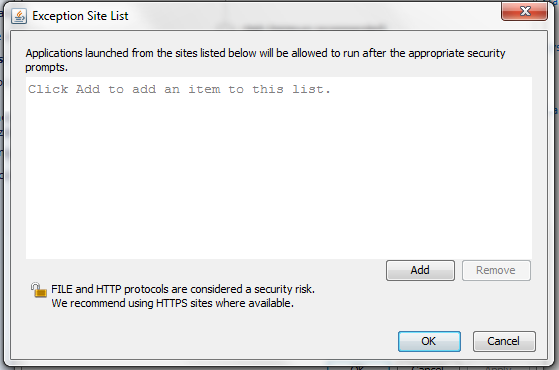
When you click on the ‘Add’ button, this window will pop up allowing you to add the specific url’s that were emailed to you along with the password:
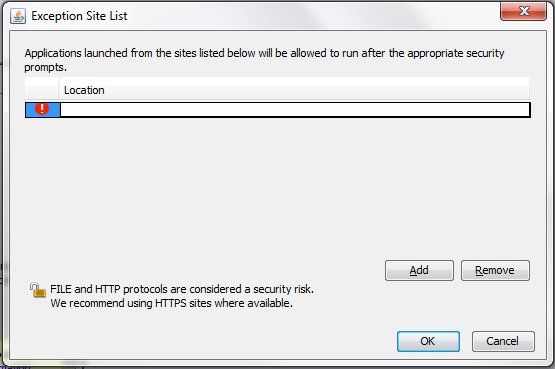
Rembember – you will need to add both url’s – the http:// one and the https:// on. Once you have entered bother you can click on ‘OK’ and return to the Security tab as below (sorry – can’t just give you the url’s here):
Click ‘OK’ again and you are complete with setting up your Java. Now the fun stuff…
Step 3: Getting to the Cloud
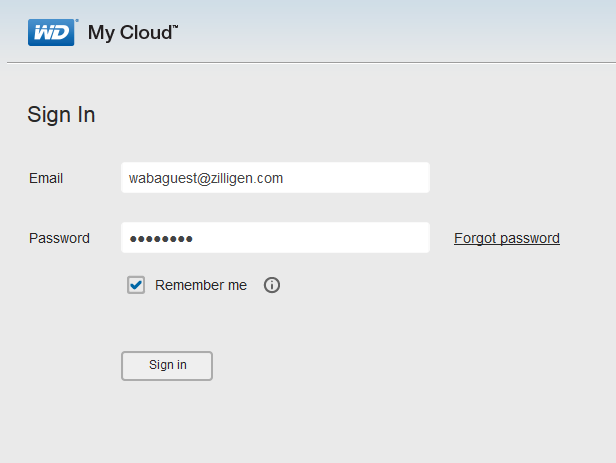
Thanks for your patience and it should pay off soon. Now we’re going to actually log into the Cloud Server. Go to this url: http://wdmycloud.com/ and enter the email address (wabaguest@zilligen.com) and the password you were emailed.
 You may get a screen that looks like this:
 If you get this, you will have to click on the links there and activate the plug-ins like you did with the Java page. You should get his screen:
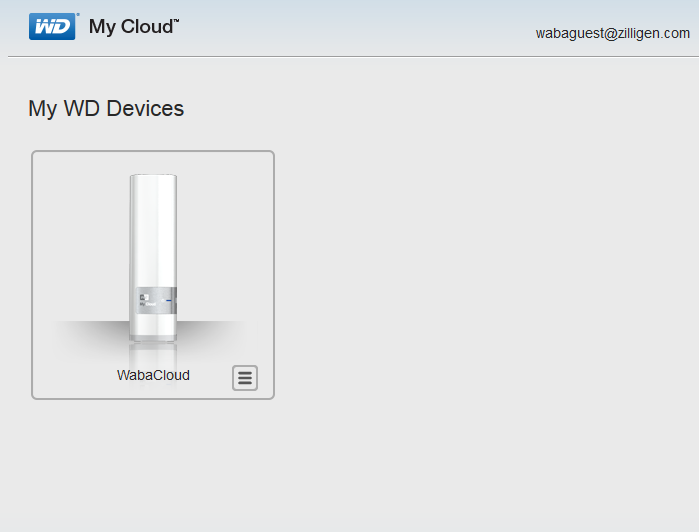 Now is the payoff for all the work you did before. Click on the ‘WabaCloud’ and you should get this:
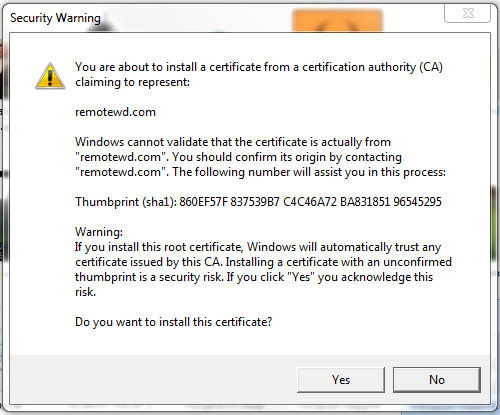 Click on ‘Yes’ and you will get this window:
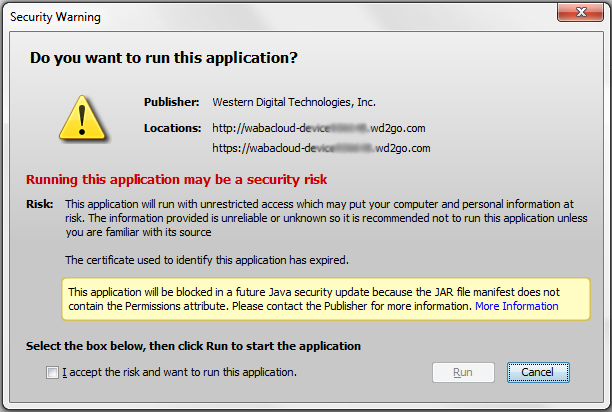
Check the checkbox and click on the ‘Run’ button. The Java applet will run and you will finally get to this screen:
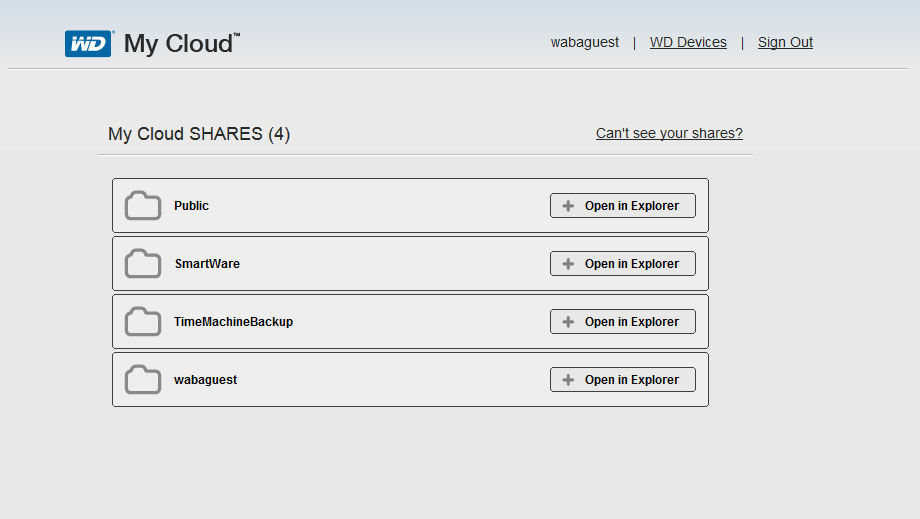
Congratulations! you are now connected to the new music server. All the songs are under the ‘wabaguest’ folder. Now here’s the real reason you did all that Java work – click on the ‘Open in Explorer’ button. It will take a while but eventually you will have a mapped drive to the server on your computer. Depending how your windows is setup, it should open automatically but you may have to got to ‘My Computer’ or open Windows Explorer (not to be confused with Internet Explore). You should see something like this:
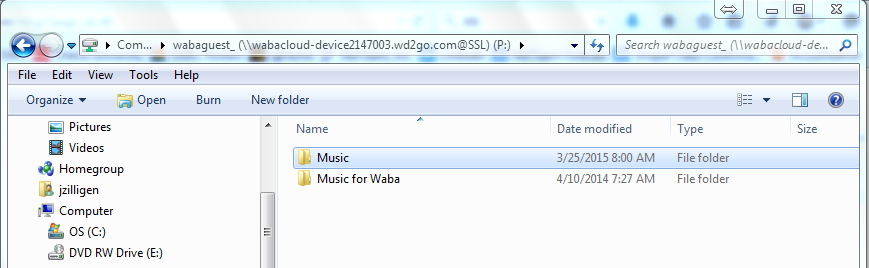
Now go into your new ‘Music’ folder but be patient, right now your windows is building over 500 folders so it takes time. (You will also notice a folder I hav added ‘Music for Waba’ if you want to contribute mp3s to my collection. Email if you upload songs there.) Eventually it will open to this:
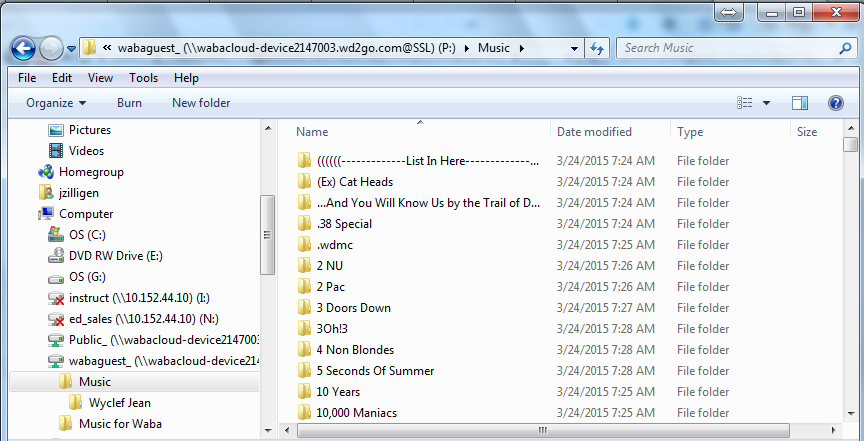
If you have been on the server before this will look familiar to you. These are all the folders to the mp3. The cloud zips everything, which doesn’t do much for mp3’s but I think it makes the little guy feel better. I organized them by Group, then Albums, then Songs/files. You should know there are ‘Children Songs’, ‘Children Stories’, ‘Christmas’, ‘Classical’, ‘Comedy’, ‘Soundprints’ (children animal stories), ‘Soundtrack’ and ‘Various Artists’. And some groups to have ‘The’ in front of their names (like ‘The Band’, ‘The Time’, etc). If you are looking for a specific song, especially if its new, you should go through the ‘Various Artists’ and look for new ‘folders’.
Step 4: Finding Music
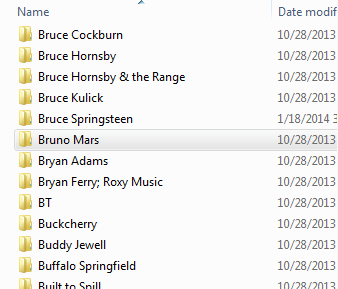
Here’s an example of find someone. Say you liked Bruno Mars after seeing him during the Super Bowl. You can quickly find his folder by typing ‘bruno’ after you’ve clicked on any of the folders in your windows explorer:
Now hit enter or double click the Bruno Mars folder. Again, patience – have you ever watched clouds? They move very slowly.
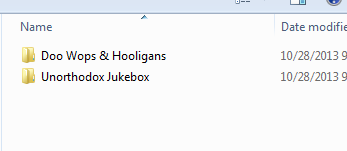
Now lets check out ‘Unorthodox Jukebox’. Again patience, your in a cloud:

And there you go. You can right click and ‘save as’ the file and put it where ever you normally download files or just double click. You ‘zip’ program will open and you will extract the file into your music collection.
Let me know if you have any problems and remember, if you like it – BUY IT!!
Let me know if you want in!
Step 4: Troubleshooting
So after all your Java setup, you go to the website and you get this:
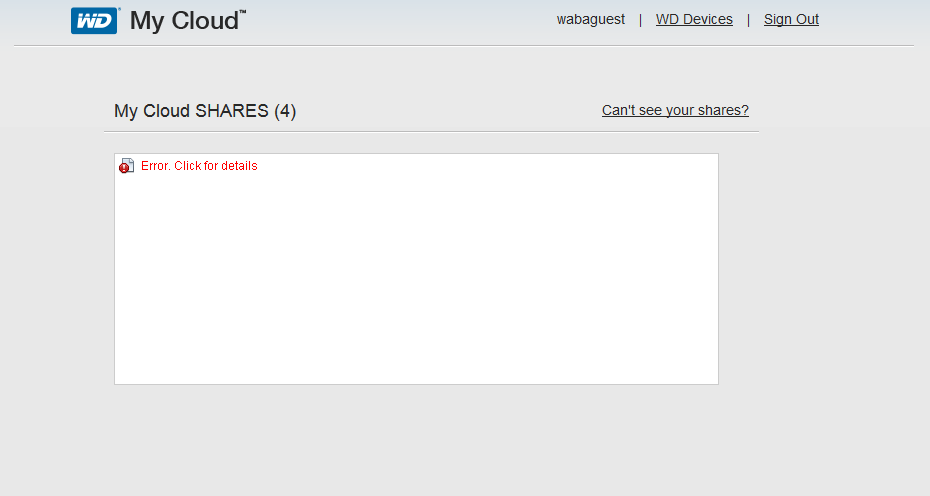
Oh no, this is not good. Your Java is bad and will not work. It could be a glitch or even a quirk, but you can’t blame me, blame some other jerk.
Actually, there’s not a lot to troubleshoot. Go back through the Java setup steps – most importantly adding the sites to the Java Control Panel. If that still doesn’t work – clear your browser’s cookies and history. And if you’re still stuck – email me.
Mac users – you’re probably on your own. I’d love to troubleshoot that if you have a problem but if you have a Mac, you never have any problems, right? 😉
– waba